Cupcake Recipe from Raddish Kids

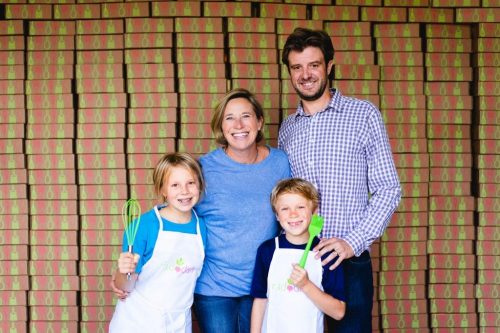
Raddish Kids founder Samantha Barnes with her family. Photo Courtesy of Raddish kids

Samantha Barnes used to teach cooking classes to kids all over L.A., offering after-school enrichment programs, summer camps and weekend parties through her company Kitchen Kid. Years before the coronavirus pandemic, she decided to bring her lessons into home kitchens instead. “Really, the most important place to learn to cook is your home, and it’s a really powerful activity for families to do together,” Barnes says. Seven years ago, she created Raddish Kids, a cooking club that ships monthly kits and recipes to families across the country.

Barnes is a former middle-school teacher with a 10½-year-old daughter (a vegetarian and baking enthusiast) and an 8½-year-old son (lover of sloppy Joes and banana bread), so she’s got some great tips for bringing kids into the kitchen. Her first is not to try to hurry your cooking projects. “Make sure you have enough time,” she says. “Cooking takes time, and when you’re baking it takes even longer.”

Another great tip is to let kids practice essential skills before you tackle a recipe. “It took me years before I’d let my kids measure into muffin cups, because half the batter would be in between the cups,” admits Barnes, whose kids help her test Raddish recipes. She suggests filling a liquid measuring cup with water and letting your kids get a feel for pouring with that before you tackle this cupcake recipe. “Once you get that skill, you can do cupcakes and muffins and all sorts of things,” she says. You can also let your kids put on oven mitts and practice moving pans in and out of a cold oven to give them confidence.

To keep kitchen mess to a minimum, put a sheet of wax paper over your counter before the kids measure ingredients. Wrap up with a big sink full of soapy water and let your kids scrub the dishes.

For families that might be missing some of their usual holiday traditions this season, Barnes recommends creating a new food tradition. “Food is so inextricably linked with memory, that’s a great way for kids to develop their own personal food story for when they are older and have their own family,” she says. Barnes will be enjoying the usual Christmas Eve raclette (similar to a fondue), Christmas Day posole and New Year’s Eve “fancy food” hors d’oeuvres with her family. Maybe your kids would like baking these adorable cupcakes. “When they are put together,” she says, “it really does look like a cute little mug of hot cocoa.”

Cupcake Recipe from Raddish Kids

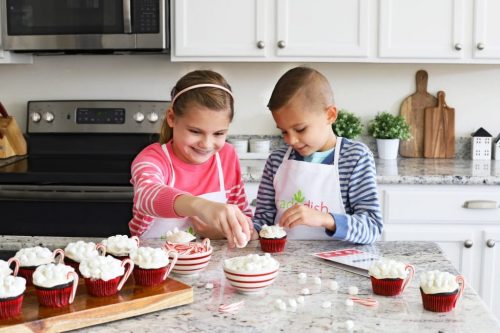
Hot Cocoa Cupcakes from Raddish Kids

For the cupcakes

¾ cup flour

½ cup cocoa powder

¾ teaspoon baking powder

¾ teaspoon baking soda

½ teaspoon salt

1 egg

1 cup sugar

¼ cup canola oil

1 cup milk

1 teaspoon vanilla extract

For the topping

¾ cup butter, softened

½ cup powdered sugar

1 teaspoon vanilla extract

7-ounce jar marshmallow fluff

2 tablespoons milk

12 mini candy canes

¾ cup mini marshmallows

Preheat the oven to 350 degrees. Line a muffin tin with paper liners or spray with nonstick cooking spray.

In a medium bowl, whisk together the flour, cocoa powder, baking powder, baking soda and salt.

Crack the egg into a large bowl. Throw away the shells and wash your hands.

Add the sugar, oil, milk and 1 teaspoon of vanilla extract to the egg. Whisk until combined.

Add the flour mixture to the egg mixture. Whisk until smooth.

Transfer the batter to a liquid measuring cup and fill the muffin cups evenly with batter.

Bake the cupcakes for 17-20 minutes, until a toothpick inserted in the center comes out clean. Let the cupcakes cool 10 minutes.

Meanwhile, make marshmallow frosting. With an electric hand mixer or in the bowl of a stand mixer, beat the butter, powdered sugar and 1 teaspoon of vanilla until creamy.

Add the full jar of marshmallow fluff and 2 tablespoons of milk. Beat the frosting until it is smooth.

Use a butter knife to spread frosting on top of each cupcake.

Top the frosted cupcakes with mini marshmallows.

Set one candy cane on the side of each cupcake to create a “handle.” Taste and share!

Chocolate Peppermint Snowball Cookies Recipe from Little Flower

Yields 15 cookies

1 cup (228 grams) butter
1 cup + 1 tablespoon (120 grams) powdered sugar
1 teaspoon vanilla extract
1½ teaspoons peppermint flavor
2½ cups + 1 tablespoon
(310 grams) all-purpose flour
¾ teaspoon salt
¾ cup (175 grams) mini chocolate chips
1 cup (115 grams) powdered sugar, to coat cookies

Place the butter in a medium or large saucepan over medium-high heat. Heat the butter until it foams and milk solids fall to the bottom of the pot. Use a rubber spatula to scrape the bottom so that the milk solids brown evenly without burning. Let the butter foam a second time. Butter should have a nutty aroma. Remove from heat and cool. Once cooled, transfer into a clean, scent-free container and refrigerate until ready to use.

In the mixing bowl of a standing mixer with the paddle attachment, combine the browned butter and powdered sugar on medium-low speed for 30 seconds. Use a rubber spatula to scrape the bowl. Add the vanilla extract and peppermint flavor and mix on low speed for 30 seconds. Scrape the bowl well. Add the flour and salt and mix on low speed until just incorporated, about 20 seconds. Add the mini chocolate chips and mix on low speed until just combined, about 10 seconds. Scrape the bowl well and finish incorporating the dry ingredients with the rubber spatula.
Portion the dough into 2-inch balls or use a #20 yellow scoop and place them on a sheet pan lined with parchment paper. Freeze until firm, at least 1 hour. Frozen cookie dough will keep in an airtight container for up to 2 weeks.

Preheat the oven to 375 degrees Fahrenheit. Place the cookies on a parchment-lined sheet pan with at least a 1-inch space between each cookie. Bake for 8 minutes, then rotate the pan. The dough will have puffed a bit. Bake 7 more minutes, or until the edges are golden and small cracks appear. Allow to cool for 5 minutes. Coat warm cookies with powdered sugar.

Hooray for the holidays – lights, music, love, joy and a chance to spoil family and friends with delicious homemade food from your cozy kitchen.  

What? Holiday cooking isn’t your absolute favorite thing to do? You avoid the kitchen most of the year, and get stressed out by the pressure to produce a festive meal?  

Relax, take a deep breath and a different approach this year with these sweet recipes:

Baked Pumpkin Doughnuts with Buttermilk Glaze 

Courtesy Sur la Table 

holiday dessert recipes
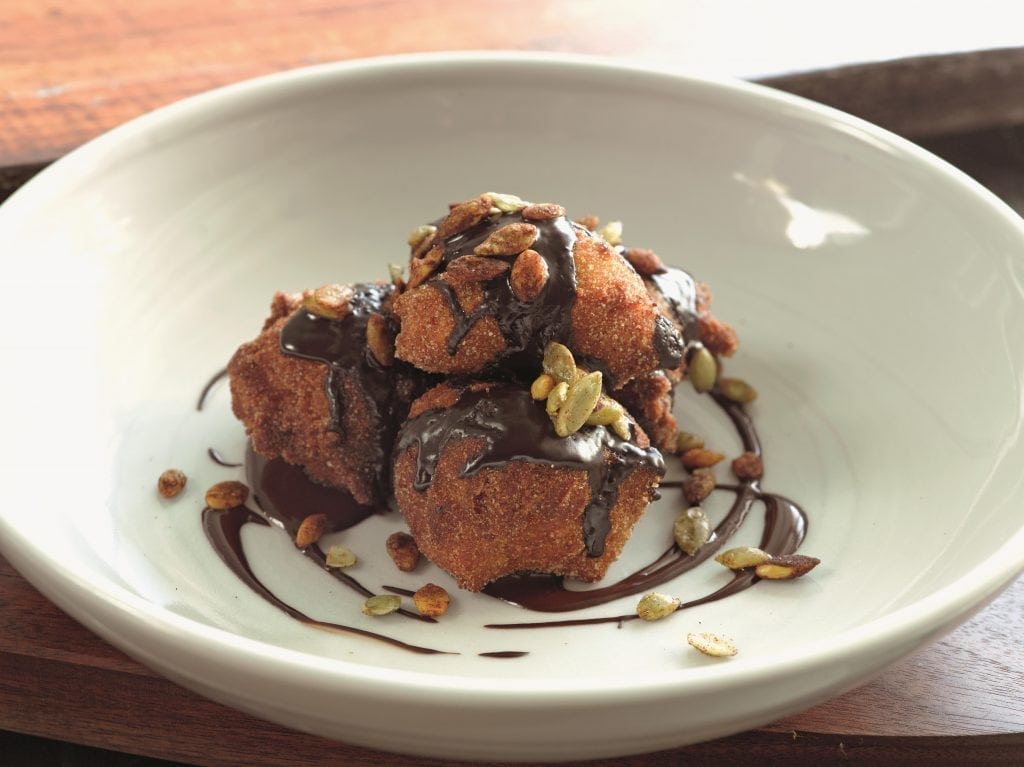
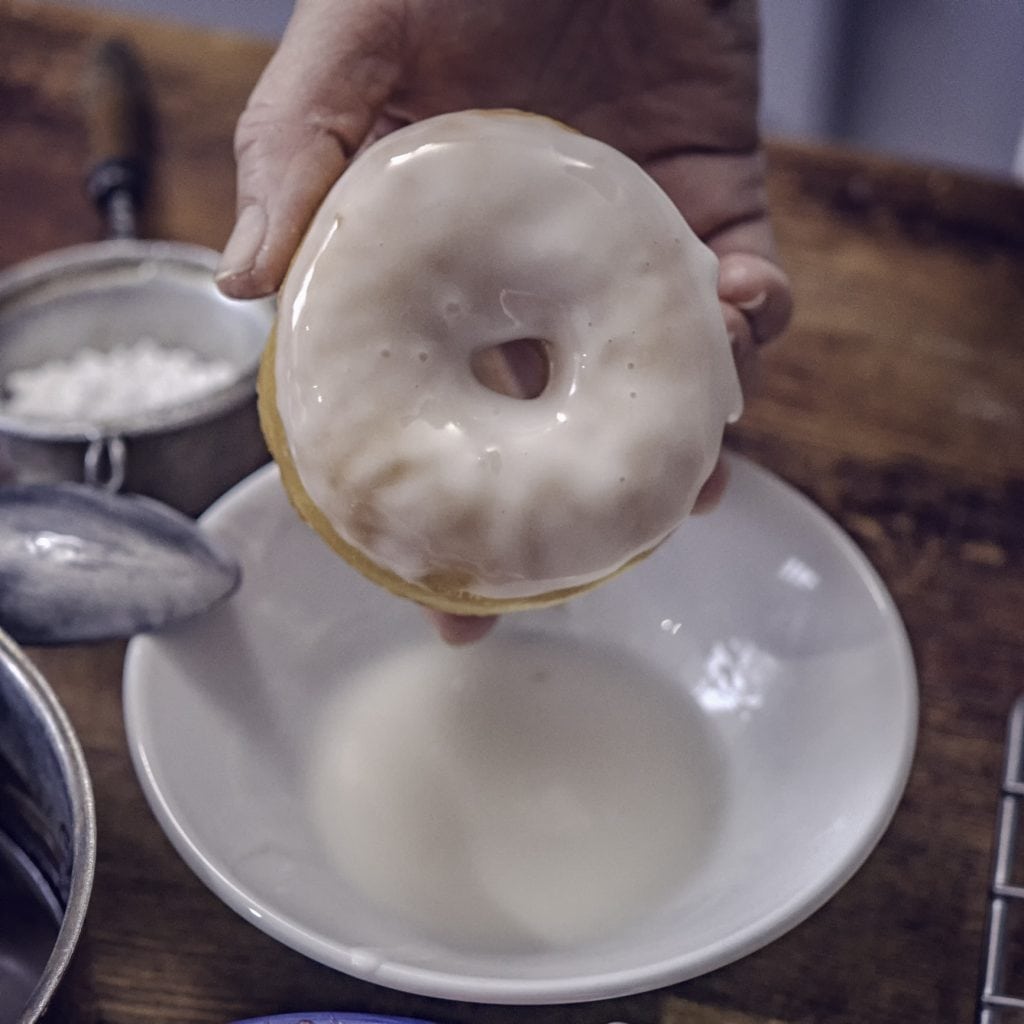
These make a fun dessert – or a festive breakfast. If you don’t have a pastry bag, you can substitute a plastic bag with a hole cut in the corner. Leonard warns not to over-mix the batter, or the doughnuts will be tough. 

Don’t love buttermilk? You can use regular milk in the glaze instead. 

Yield: 12 medium or 24 mini doughnuts 

3 cups unbleached all-purpose flour 

1 teaspoon sea salt 

1 teaspoon baking powder 

1 teaspoon baking soda 

¾ teaspoon ground cinnamon 

½ teaspoon freshly grated nutmeg 

¼ teaspoon ground cloves 

¼ teaspoon ground ginger 

2 cups firmly packed light brown sugar 

1 cup vegetable oil, plus more for preparing pans 

3 cups pumpkin puree 

2 large eggs 

1 teaspoon vanilla extract 

1 ½ cups confectioners’ sugar, sifted 

3 tablespoons buttermilk 

Preheat oven to 350F. Grease 2 (6-cavity) doughnut pans and fit a large pastry bag with a half-inch round tip. Set aside. 

In a large bowl, add flour, salt, baking powder, baking soda and spices; stir together and set aside. 

In a medium bowl, add sugar, oil, pumpkin puree, eggs and vanilla; whisk to combine. 

Add the wet mixture to the dry and fold into a smooth batter using a silicone spatula. Transfer batter to prepared pastry bag and fill each doughnut cavity halfway with batter. 

Bake until the doughnuts spring back when lightly touched, 10 to 12 minutes. Remove from the oven and invert doughnuts onto a wire rack placed over a rimmed baking sheet. 

Prepare the glaze. In a medium bowl, add confectioners’ sugar and buttermilk; whisk until smooth. 

When the doughnuts are cool, spoon about 2 tablespoons of glaze over the top of each doughnut and allow glaze to set before serving, about 20 minutes. 

Pecan Cheesecake 

Courtesy Brooke Williamson 

holiday dessert recipes

PHOTO COURTESY BROOKE WILLIAMSON

The unusual wrapping and baking process is to keep the cheesecake from cracking as it cools. If it does, you can hide cracks by decorating with whipped crème fraiche, candied pecans and sprinkles. Williamson says you can also substitute other types of nuts – or even crunchy cookies – for the pecans.

Yield: One 9-by-2-inch cheesecake 

4 ounces graham cracker crumbs 

9½ ounces sugar, divided 

1½ ounces melted butter 

2 6-ounce packages cream cheese, softened 

3 eggs 

1½ teaspoons vanilla 

1½ teaspoons lemon juice 

1¼ ounce cornstarch 

½ teaspoon salt 

5 ounces crème fraiche or sour cream 

2 ounces finely chopped toasted pecans 

Preheat the oven to 300F. Combine graham cracker crumbs, ½ ounce sugar and butter in a bowl. Press into the bottom of a greased 9-inch springform pan. Bake at 300°F for 5 minutes. Set aside. 

Whisk together the remaining 9 ounces sugar, cornstarch and salt and set aside. 

Using a stand mixer fitted with the paddle attachment, beat the cream cheese on medium speed to soften and smooth out. Add the dry ingredients and beat on medium speed to combine, scraping bowl frequently. 

Beat in the vanilla and lemon on low speed.  With the mixer running on medium speed, beat in the eggs a few at a time, scraping the bowl frequently. 

On low speed, beat in the crème fraiche and pecans until combined. Pour the batter onto the prepared crust.  Wrap the entire pan tightly in aluminum foil, covering the top, bottom and sides. 

Place the cheesecake in a large roasting pan, place in the preheated oven, and fill with hot water to halfway up the side of the pan. Bake in the water bath at 300°F until the cheesecake jiggles firmly at the center, about 60 minutes. 

Turn off the oven, prop open the door and let the cheesecake cool inside for one hour.  Let cool completely at room temperature, then chill thoroughly before removing springform and cutting and serving. 

Spiced “Pumpkin” Fritters with Chocolate Sauce and Candied Pepitas 

Courtesy Suzanne Goin 

holiday dessert recipes

PHOTO COURTESY SUZANNE GOIN

The chocolate sauce can be made and the squash roasted three to four days ahead, and the pepitas and fritter batter a day ahead. If you make the batter ahead, refrigerate it before allowing it to rise, then remove from the fridge and proceed with the recipe from there. 

Makes about 20 fritters 

NOTE: While the fritter batter rises, prepare the chocolate sauce and fried pepitas. 

½  kabocha or butternut squash, about 1 pound 

¼ cup whole milk 

2 teaspoons dry yeast 

3 cups all-purpose flour 

1 teaspoon kosher salt 

1½ teaspoons ground cinnamon 

½ teaspoon ground ginger 

¼ teaspoon ground cardamom 

⅛ teaspoon freshly grated nutmeg 

⅛ teaspoon ground cloves 

4 tablespoons (½ stick) unsalted butter, melted, plus a little for the bowl 

1 extra-large egg 

⅔ cup dark-brown sugar 

½ teaspoon pure vanilla extract 

1 cup granulated sugar 

2 to 3 quarts vegetable oil, for frying 

1 recipe Chocolate Sauce (recipe follows) 

1 recipe Candied Pepitas (recipe follows) 

Preheat the oven to 400F. 

Cut the squash in half lengthwise and place on a baking sheet, cut side up. (Don’t remove the seeds yet; they give extra flavor.) Cover with foil and roast for about 1 hour, until very tender. Let cool for 10 minutes, then scoop out the seeds and discard them. Purée the warm squash through a ricer or food mill and measure out ½ cup. In a large bowl, heat ¼ cup water and the milk to body temperature. Sprinkle yeast evenly across the surface and allow the yeast to bloom for 10 to 15 minutes. 

Whisk the flour, salt, ½ teaspoon cinnamon and the other spices together, then sprinkle across bloomed yeast. Make a well in the center and set aside. 

Combine the squash purée, butter, egg, brown sugar and vanilla, then pour into the well of the dry ingredients. Fold together with a rubber spatula until incorporated; be careful not to over-mix the batter, or the fritters will be tough. (Some specks of flour are OK.) Lightly brush a large bowl with melted butter. Scrape batter into the bowl and flip the batter upside down, so that all sides are covered with a little of the melted butter.  

Cover with plastic and allow the batter to rise in a warm, draft-free place for about 1 hour, until doubled in size. Let the batter rest for at least 1 hour more in the refrigerator, and then bring it to room temperature when you are ready to fry. (Chilling the batter in the fridge develops the flavor and creates more tender fritters.) Combine 1 cup granulated sugar with the remaining 1 teaspoon cinnamon in a large bowl and set aside. Heat the oil to 350F on a deep-frying thermometer, over medium heat, in a heavy, wide-bottomed pan. 

Scoop heaping tablespoons of batter, and use a second spoon to push rounded spoonfuls into the hot oil. Don’t overcrowd the pan; the fritters shouldn’t touch each other. Fry for 2 to 3 minutes, until deep golden brown on all sides. 

Drain the fritters on paper towels and pat to remove any excess oil. While they’re still hot, toss fritters in the bowl with cinnamon-sugar mixture. Pile the fritters up on a platter or divide among six dessert plates. Drizzle with ¾ cup chocolate sauce, sprinkle with candied pepitas and serve remaining chocolate sauce on the side for dipping. 

Chocolate Sauce 

Makes about 1 cup 

3 ounces 68% dark chocolate 

3 tablespoons sugar 

¼ cup good-quality unsweetened cocoa powder 

Chop the chocolate into small chunks and place in a large bowl. 

In a saucepan, combine the sugar with 2/3 cup water and bring to a boil. Add the cocoa powder to the boiling water and whisk to combine. Bring to a boil again, whisking constantly, then immediately pour the water over the chopped chocolate and let sit for 1 minute to melt the chocolate. Whisk together until combined, working from the inside out, to emulsify the mixture. Cool to room temperature. 

Candied Pepitas 

¼ teaspoon cumin seeds 

2 teaspoons unsalted butter 

½ cup raw pumpkin seeds 

1 tablespoon sugar 

Generous pinch each of kosher salt, ground cinnamon, freshly grated nutmeg and ground cloves 

1 teaspoon honey 

Toast the cumin seeds in a small pan over medium heat for 2 to 3 minutes, until the seeds release their aroma and are lightly browned. Pound them coarsely in a mortar. 

Melt the butter in the cumin pan over medium heat. Add the pumpkin seeds and sugar, then sprinkle the salt and spices over them. Toss the pumpkin seeds to coat them well with the butter. Cook for a few minutes, until just after they begin to pop and color slightly. 

Turn off the heat and wait for 30 seconds. Add the honey, tossing well to coat the pumpkin seeds. Spread on a plate, and let them cool. 

Excerpted fromthe a.o.c. cookbookby Suzanne Goin. Copyright 2013 by Suzanne Goin. Excerpted by permission of Knopf, a division of Random House LLC. All rights reserved. No part of this excerpt may be reproduced or reprinted without permission in writing from the publisher. 

Don’t Miss Out On The Fun

Sign up for our ENews and be the first to know the latest on toys & family must-haves, giveaways & gift and play ideas!

No Thanks Let's Connect

Family must-haves, articles & giveaways