Cupcake Recipe from Raddish Kids

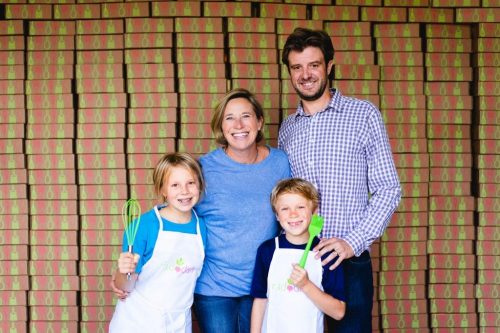
Raddish Kids founder Samantha Barnes with her family. Photo Courtesy of Raddish kids

Samantha Barnes used to teach cooking classes to kids all over L.A., offering after-school enrichment programs, summer camps and weekend parties through her company Kitchen Kid. Years before the coronavirus pandemic, she decided to bring her lessons into home kitchens instead. “Really, the most important place to learn to cook is your home, and it’s a really powerful activity for families to do together,” Barnes says. Seven years ago, she created Raddish Kids, a cooking club that ships monthly kits and recipes to families across the country.

Barnes is a former middle-school teacher with a 10½-year-old daughter (a vegetarian and baking enthusiast) and an 8½-year-old son (lover of sloppy Joes and banana bread), so she’s got some great tips for bringing kids into the kitchen. Her first is not to try to hurry your cooking projects. “Make sure you have enough time,” she says. “Cooking takes time, and when you’re baking it takes even longer.”

Another great tip is to let kids practice essential skills before you tackle a recipe. “It took me years before I’d let my kids measure into muffin cups, because half the batter would be in between the cups,” admits Barnes, whose kids help her test Raddish recipes. She suggests filling a liquid measuring cup with water and letting your kids get a feel for pouring with that before you tackle this cupcake recipe. “Once you get that skill, you can do cupcakes and muffins and all sorts of things,” she says. You can also let your kids put on oven mitts and practice moving pans in and out of a cold oven to give them confidence.

To keep kitchen mess to a minimum, put a sheet of wax paper over your counter before the kids measure ingredients. Wrap up with a big sink full of soapy water and let your kids scrub the dishes.

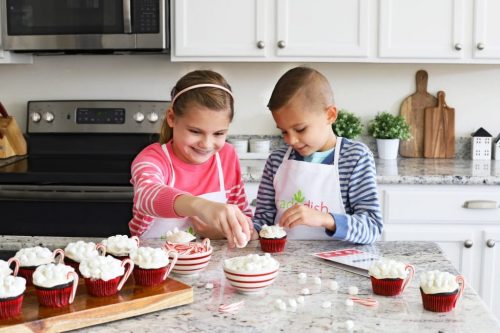
For families that might be missing some of their usual holiday traditions this season, Barnes recommends creating a new food tradition. “Food is so inextricably linked with memory, that’s a great way for kids to develop their own personal food story for when they are older and have their own family,” she says. Barnes will be enjoying the usual Christmas Eve raclette (similar to a fondue), Christmas Day posole and New Year’s Eve “fancy food” hors d’oeuvres with her family. Maybe your kids would like baking these adorable cupcakes. “When they are put together,” she says, “it really does look like a cute little mug of hot cocoa.”
Cupcake Recipe from Raddish Kids

Hot Cocoa Cupcakes from Raddish Kids

For the cupcakes

¾ cup flour

½ cup cocoa powder

¾ teaspoon baking powder

¾ teaspoon baking soda

½ teaspoon salt

1 egg

1 cup sugar

¼ cup canola oil

1 cup milk

1 teaspoon vanilla extract

For the topping

¾ cup butter, softened

½ cup powdered sugar

1 teaspoon vanilla extract

7-ounce jar marshmallow fluff

2 tablespoons milk

12 mini candy canes

¾ cup mini marshmallows

Preheat the oven to 350 degrees. Line a muffin tin with paper liners or spray with nonstick cooking spray.

In a medium bowl, whisk together the flour, cocoa powder, baking powder, baking soda and salt.

Crack the egg into a large bowl. Throw away the shells and wash your hands.

Add the sugar, oil, milk and 1 teaspoon of vanilla extract to the egg. Whisk until combined.

Add the flour mixture to the egg mixture. Whisk until smooth.

Transfer the batter to a liquid measuring cup and fill the muffin cups evenly with batter.

Bake the cupcakes for 17-20 minutes, until a toothpick inserted in the center comes out clean. Let the cupcakes cool 10 minutes.

Meanwhile, make marshmallow frosting. With an electric hand mixer or in the bowl of a stand mixer, beat the butter, powdered sugar and 1 teaspoon of vanilla until creamy.

Add the full jar of marshmallow fluff and 2 tablespoons of milk. Beat the frosting until it is smooth.

Use a butter knife to spread frosting on top of each cupcake.

Top the frosted cupcakes with mini marshmallows.

Set one candy cane on the side of each cupcake to create a “handle.” Taste and share!

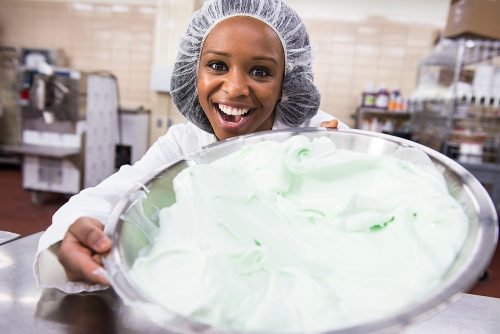
Ice cream scientist Maya Warren. Photo by Jeff Miller/UW-Madison

Maya Warren has a job title that would get most kids’ attention. She’s an ice cream scientist. Translation: Warren is senior director of international research and development/tastemaster at Cold Stone Creamery, and has a doctorate in food science from the University of Wisconsin-Madison, specializing in frozen desserts. After being introduced to food science through the Food Network show “Unwrapped,” she decided to combine her passions for ice cream and chemistry to create a career that lets her do what she loves every day.

While her favorite ice cream flavor fluctuates between cookies and cream and a double-buttered candied pecan that is her own creation, the L.A.-based flavor maker finds inspiration for new flavors everywhere. “Whether it is at a fine dining restaurant, the candy or yogurt aisle at the grocery store or just following up-and-coming food trends across the globe, creativity is always around us,” Warren says. “It is really fun to push the envelope with ice cream flavors.”

Honey, cornbread and blackberry jam? Thai curry, peanuts and lime? Why not! “The flavors you can make are totally endless!” Warren says. “Now, not everything will taste amazing, but you never know when you might develop an amazing flavor that will leave people wanting more.”

What does she eat when she isn’t eating ice cream? “I love a great plate of veggies,” Warren insists. “I pretty much add spinach and broccoli to anything and everything … except ice cream. I’ve definitely not tried spinach or broccoli ice cream!”

The recipe this ice cream scientist has shared is the no-churn variety, which means you can make it without an ice cream maker. She says both varieties are very tasty, and that the main difference is in the process. No-churn recipes involve whipping the cream separately to create foam and give the mixture lightness, which wouldn’t be efficient for large-scale production. Ice cream that is churned freezes a prepared mixture and uses the machine to incorporate air during the freezing process.

Using this no-churn recipe, you create the base, then let your creativity loose to create your own flavor combinations. “Layer in whatever your creative mind and taste buds desire!” says Warren. Want more inspiration? Follow the ice cream scientist on Instagram, where she hosts live “Ice Cream Sundays with Dr. Maya,” demonstrating her recipes so that families can follow along.

The No-Churn Ice Cream Recipe:

2 cups (1 pint) heavy whipping cream, chilled

1¼ cups of sweetened condensed milk (approximately one 14-ounce can)

¼ cup evaporated milk

2 teaspoons vanilla extract

Inclusions of your choice – broken/chopped cookies, sprinkles, caramel and/or fudge sauce, etc.

In a large mixing bowl, combine the sweetened condensed milk, evaporated milk and vanilla extract.Gently mix with a spatula until homogeneous, then set aside.

Pour the heavy whipping cream into a smaller mixing bowl. Starting on the lowest speed to avoid splashing, then gradually increasing to the highest speed, whip with a hand or standing mixer until whipped cream forms stiff peaks, about 3-5 minutes. Be careful not to over-whip the cream or it will turn into butter.

Using a spatula, scoop and gently fold the whipped cream into the sweetened condensed milk mixture until all of the cream is folded in. This now becomes your ice cream base – set aside.

Grab your storage container and a ladle. Using the ladle, scoop a layer of ice cream base into the container. Spread a layer of inclusions on top. Add another layer of ice cream base, followed by another layer of inclusions, and alternate until all of your ice cream base and inclusions are in your container.

Place a lid, plastic wrap or parchment paper over your ice cream. If using parchment paper or plastic wrap, gently press down until it lightly touches the ice cream. Freeze for 5-6 hours or overnight. Remove the container from the freezer and let it sit on the counter for 5-7 minutes if the ice cream is too hard to scoop. Enjoy!

Zoe Nathan, part of the team behind the Rustic Canyon family of restaurants and author of “Huckleberry: Stories, Secrets, and Recipes From our Kitchen,” got this recipe from her dad. “My father used to make these almost every weekend when I was growing up, and then he proudly made them every weekend for Saturday Morning Breakfast at Rustic Canyon, she writes in her cookbook.

We think this makes them perfect for your Mother’s Day menu – or any day. Dads, you can do it!

Nathan does have one piece of advice about perfecting this simple recipe. “If these pancakes aren’t done on a super-hot griddle and they don’t get that deep brown color,” she says, “they become an entirely different, sadder animal. So please, cook these properly and make my Dad proud.”

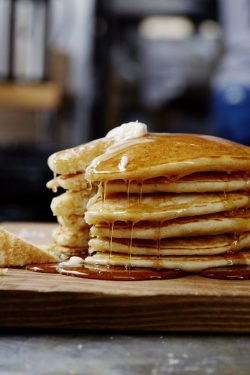
Photo by Matt Armendariz

‘My Dad’s Pancakes’ from Rustic Canyon

Makes about 12 pancakes

1 vanilla bean or 1 tablespoon vanilla extract

2 cups whole milk

2 cups/250 grams all-purpose flour

1 tablespoon baking powder

4 teaspoons sugar

1 teaspoon kosher salt

1 cup unsalted butter, melted

4 eggs, separated

If using the vanilla bean, split lengthwise, scrape the seeds into the milk, and toss the pod in, too. Bring to a boil, whisking occasionally to help break up the vanilla bean. Allow to cool or refrigerate overnight. Discard the pod before using.

Place the flour, baking powder, sugar, and salt in a large bowl. Add the butter, egg yolks and vanilla milk (or milk and vanilla extract). Whisk to combine.

In a separate bowl, whip the egg whites to soft peaks with an electric beater on medium-high speed, 3 to 4 minutes. Fold the whites into the batter.

About 5 minutes before you’re ready to make the pancakes, preheat a greased griddle or large skillet over medium-high heat; the griddle is ready when a few droplets of water sizzle and dance across the surface.

Drop . ½ cup of batter onto the hot griddle. When bubbles set on the surface of the pancake and the bottom is golden, flip and cook about 1 minute longer. Serve immediately, while hot, with butter and maple syrup or yogurt and fruit.

These are best the moment they leave the griddle.

The Rustic Canyon Family restaurants include Rustic Canyon, which is temporarily closed, and its sister restaurants Huckleberry, Sweet Rose Creamery, Milo + Olive, Cassia, Esters Wine Shop and Bar, Tallula’s, Milo SRO and Birdie G’s. All of the restaurants except Rustic Canyon are offering curbside pickup, takeout and delivery. You can also support the restaurants by purchasing gift cards used to dine at a later date.

Get a first look inside Aurora Satler’s new book, The Ultimate New Mom’s Cookbook, with these two incredible recipes. The first, a sweet potato puree recipe for your baby, can be transformed into her southwest sweet potato cakes that can feed the whole family. For more incredible recipes like these, check out her new book, and for her tips on how to find time to create these amazing recipes, take a look at our exclusive interview linked below.

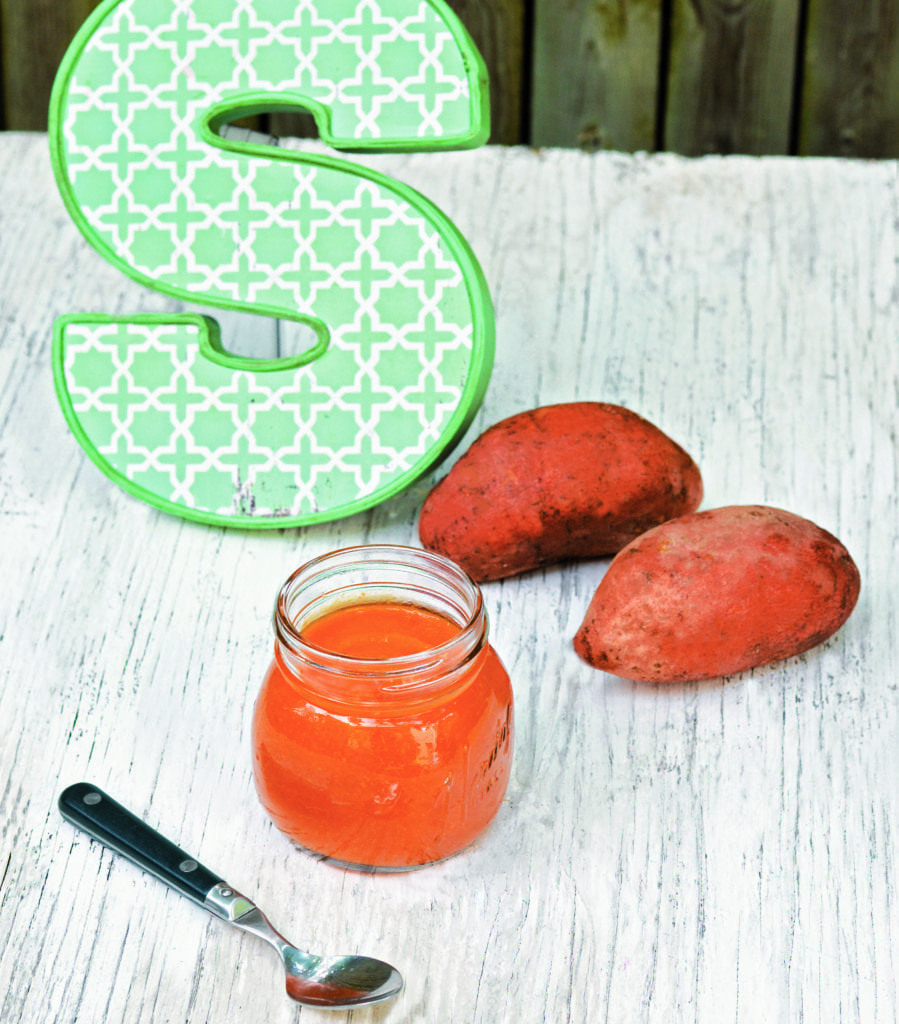
Sweet Potato Puree

MAKES 5 CUPS (1 L)

The roasting helps caramelize the sweet potatoes and makes them extra delicious. This puree mixes very well with meats later down the road once you begin combination purees with your child.

INGREDIENTS

2 medium to large sweet potatoes
1¼ cups (296 ml) water

DIRECTIONS

Preheat your oven to 400°F (204°C).

Line a baking sheet with aluminum foil. Prick the sweet potatoes several times on both sides and bake on the sheet for 45 minutes. Allow to cool then remove the skin and puree in a blender adding water slowly, until completely smooth. (If you’re using smaller sweet potatoes, use less water.) Freeze in individual portions or allow to cool before serving.


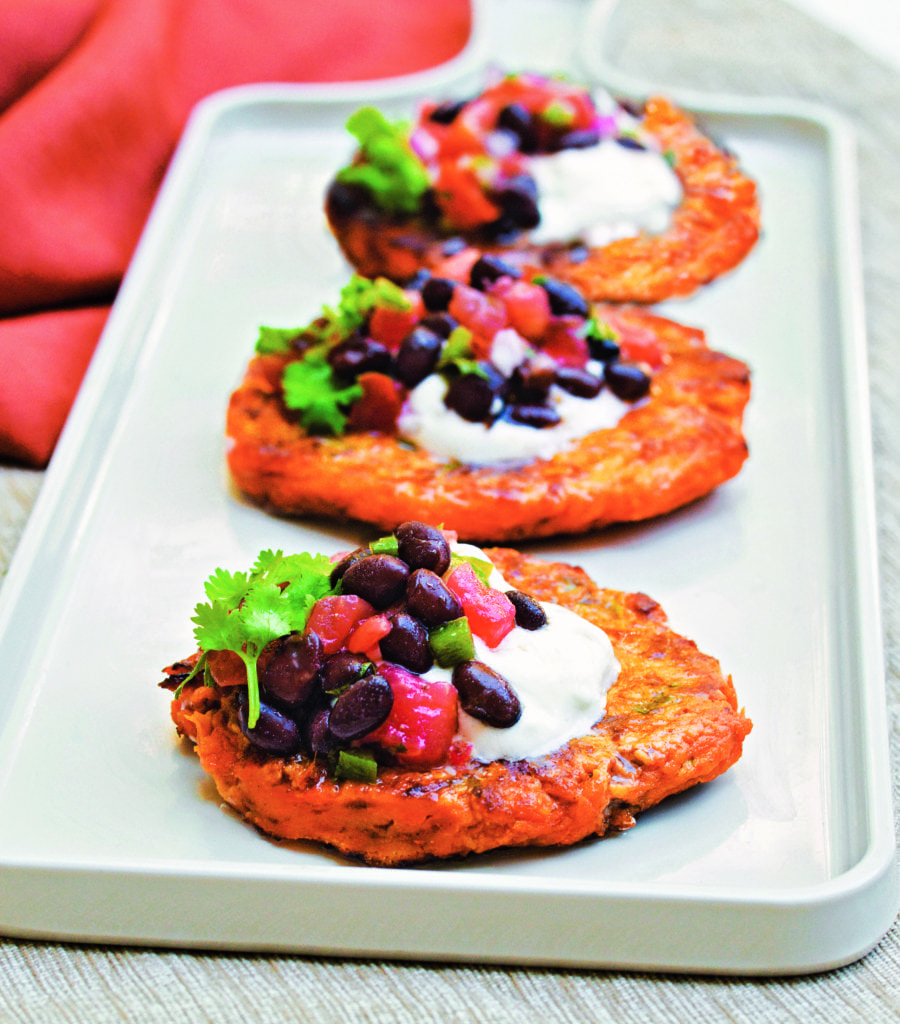
Southwest Sweet Potato Cakes and Black Bean Salsa Fresca

MAKES 12 CAKES

Vegetable cakes are a great way to get your kids, or yourself, to eat more vegetables. My parents used to make us corn fritters, and I’ve always had a soft spot for latkes. These cakes are perfect for leftover mashed sweet potatoes and pair perfectly with Black Bean Salsa Fresca to make them a more substantial meal.

Nervous about the butter in this recipe? Don’t be! Fat-soluble vitamins (A, D, E and K) are absorbed better when consumed with fat. And since sweet potatoes are packed with vitamins, let’s make the most of them!

BLACK BEAN SALSA FRESCA

2 cups (320 g) small diced plum tomatoes (4 plum tomatoes)
½ cup (80 g) finely diced red onion
1½ limes, juiced
1 small jalapeño, seeded, deveined and minced, optional
1 cup (16 g) cilantro leaves, chopped
½ tsp salt
1 tbsp (15 ml) olive oil
1 clove garlic, minced
½ cup (90 g) black beans

SOUTHWEST SWEET POTATO CAKES

2½ cups (637 g) mashed sweet potatoes (2 large sweet potatoes)
½ cup (62 g) all-purpose flour
¼ cup (12 g) sliced scallions (2 large scallions)
¼ tsp smoked paprika
¼ tsp cumin
¼ cup (30 g) grated cheddar cheese
4 tbsp (57 g) butter for frying, divided

TO MAKE THE BLACK BEAN SALSA FRESCA

In a medium bowl, combine all the ingredients and stir until mixed. As this salsa sits, the tomato juice makes it a bit watery. For easiest serving, drain with a slotted spoon before adding to the sweet potato cakes. Set aside or refrigerate until ready to serve.

TO MAKE THE SOUTHWEST SWEET POTATO CAKES

In a large bowl, mix the sweet potatoes, flour, scallions, paprika, cumin and cheese together. Stir until well combined. Add 2 tablespoons (28 g) of butter to a large frying pan and heat until melted. Using wet hands, take a spoonful of sweet potato batter and pat into a thin, 3- to 4-inch (7.5- to 10-cm) diameter disc. It doesn’t have to be perfect. The batter will be a little sticky. You can spoon the batter into the pan and use a fork to mash it down. But it is important to keep it thin. Work in batches to prevent overcrowding.

Fry the cakes for 2 to 3 minutes per side on high until they’re a deep golden brown. The cheese may cause them to stick a little to the pan, so use a nonstick pan and plenty of butter.

Remove the cooked cakes to a plate and repeat with the batter until all the cakes are cooked. Serve warm with Black Bean Salsa Fresca.

Check out our wonderful chat with Aroura HERE!


Don’t Miss Out On The Fun

Sign up for our ENews and be the first to know the latest on toys & family must-haves, giveaways & gift and play ideas!

No Thanks Let's Connect

Family must-haves, articles & giveaways